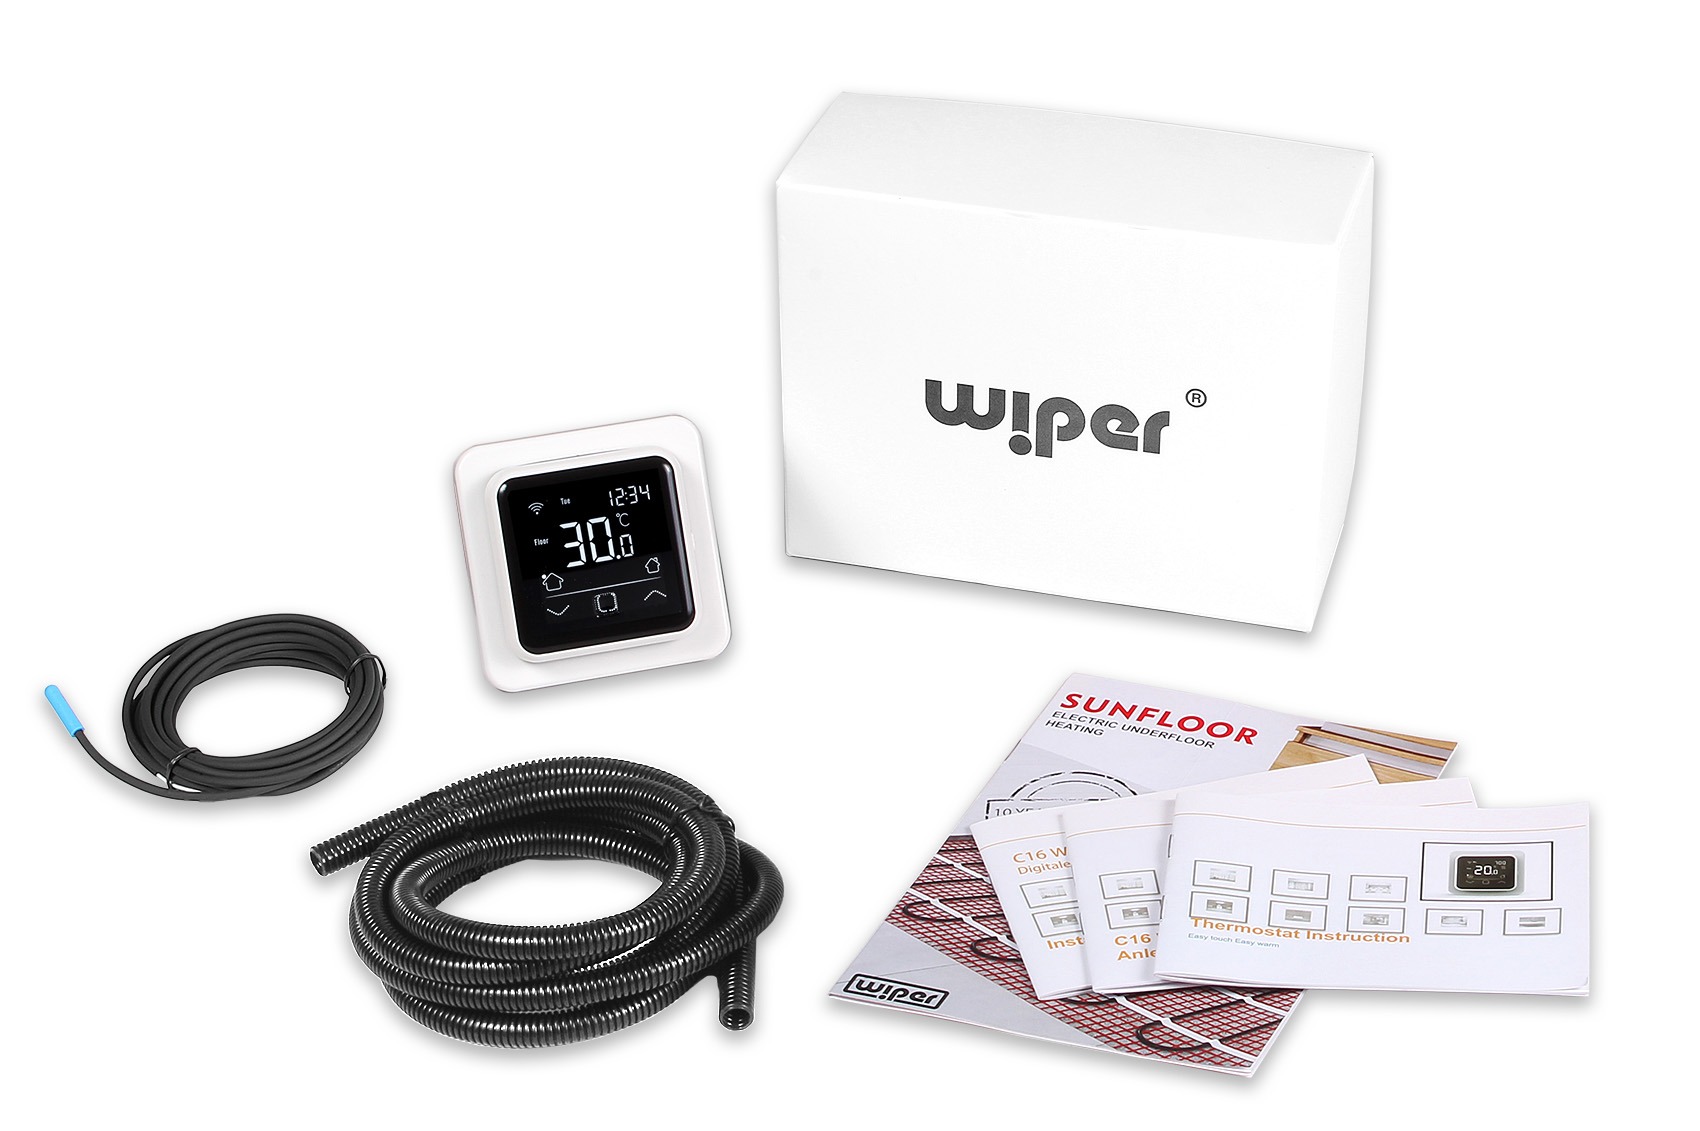
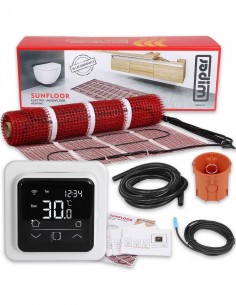
One of our bestsellers is undoubtedly the Wiper Sunfloor electric underfloor heating. High quality combined with a good price and a lifetime guarantee attract many of you who choose this type of heating. In this article we will try to introduce you to the process of installing the thermostat and look at some of its main features.
ATTENTION. Although the installation is described in detail in the manual and is relatively easy, it should be done by a qualified electrician only. The heating mats and the thermostat are powered by a high voltage. Incorrect connection endangers the safety of users and can damage the device. Proper installation is also the basis of the warranty.
1. INSTALLATION
a) preparation
Having pre-planned the location of the heating mats, you can proceed to choose where to place the thermostat with its floor sensor. Room temperature controls are typically located close to light switches at a comfortable height up to about 140-150 cm from the floor. You should take into account the ease of supplying power to the thermostat and the need to cut a groove in the wall and floor for the floor sensor cable and the heating mat power cable. Then, preferably with a hole saw, cut a hole with a diameter appropriate for a standard electrical box. For easier installation, it is better to pull through slightly longer cables. Both the sensor cable and the connecting cables for the mats can be cut if necessary.
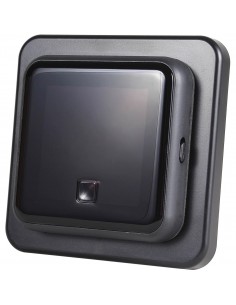
b) how to open it?
To ensure the rigidity and integrity of the casing for many years of use, the manufacturer has used firmly holding snap clips. In order to be able to open the thermostat without using unnecessary force and not to damage the housing, it is worth using, for example, a small, narrow screwdriver. By inserting it through the mounting screw hole in the rear part, you will gain access to the latches. The clips are on the top and bottom. All you need to do is push them gently, holding the main part of the thermostat firmly and then safely remove the frame.
Having access to the connection ports and following the diagram in the user manual, connection should not cause any problems. The frame can be screwed to an electrical box in the wall and a connected thermostat can be attached to it.
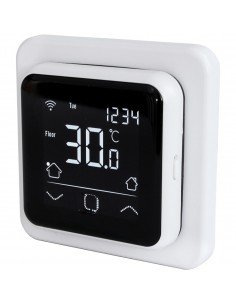
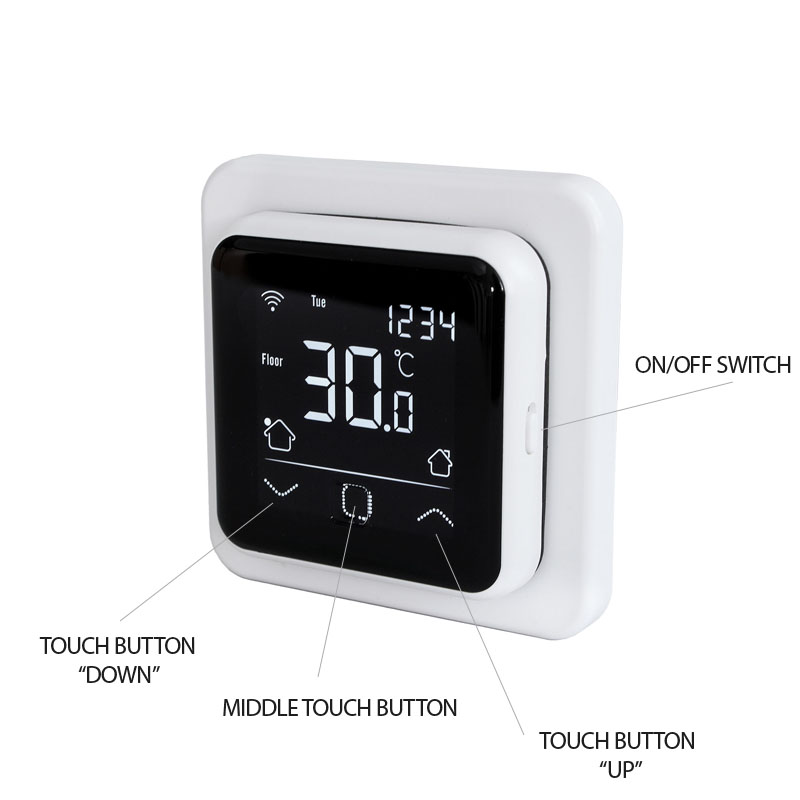
2. THE THERMOSTAT
a) buttons
b) options
The first time you turn it on you will be asked to set details such as date, time and day of the week. Entering the correct data is important for later as heating schedules. If you immediately connect your Warmme app to WiFi and add your thermostat in it, the date and time settings will be loaded automatically from the Internet.
Screen lock
One of the most useful options especially for parents of young children. By holding the up arrow and the center button simultaneously for 3 seconds, you can lock and unlock the thermostat function buttons. This will protect you from unwanted changes to the temperature settings.
Heating schedule
Thanks to the possibility of setting the heating schedule, you can set 'nobody at home' at certain times so the temperature can be lowered. You can also choose smart mode with a pre-programmed schedule for your home or office.
Energy consumption
The thermostat has the function of displaying the percentage of working time. Thanks to this, you will be able to track the actual power consumption and control the effectiveness of the heating settings.
Example:
Consumption is 20% and the installed heating power is 300W.
20% x 300W = 60W per hour
60W x 24h = 1440W consumed per day
Open window sensor
A useful option for forgetful or owners of offices and other utilities who can protect themselves from thermal mismanagement of tenants. Thanks to the air sensor installed in the thermostat housing, a sudden drop in temperature in the room will be detected and the thermostat will turn off the heating for 15 minutes for savings.
Frost protection
Thanks to this function, the system will not let the floor cool down completely. Reheating the floor to the working temperature will be much faster. In this mode the maximum temperature is 15 ° C.
We encourage you to install the Warmme application (available for both iOS and Android), thanks to which you can conveniently and easily operate the thermostat functions. The application also allows you to control multiple thermostats from one place. However, note that both the thermostat and the phone with the app must be connected to the same Wi-Fi network.
If you have questions or want to get a quote, please contact us!